
Icon Retreat at Nashota House Seminary, Delafield, Wisconsin
This year’s Icon Retreat at Nashota House Seminary will be star studded, with Talks by Dean Lauren Witnah, and Assistant Dean Jim Watkins in addition to my already information packed retreat!

Christine Hales teaching an Icon Retreat
An Iconography Retreat at Nashotah House
June 16-20, 2025
Hosted on the beautiful campus of Nashotah House Theological Seminary, Encountering God: The Art of Iconography is an opportunity for prayer, fellowship, and instruction in iconography. Through this week-long retreat, led by two experienced iconographers, you are invited to enter into the long and rich Christian tradition of iconography.
Iconography is a discipline of hand, heart, and mind that focuses one’s attention on Christ, a saint, or biblical event. The aim is not merely to illustrate a biblical subject, but to encounter God in deep and fresh ways.
Participants may choose one of two tracks:
Byzantine-Style Icon Writing with Christine Hales will introduce you to Byzantine style iconography.
Wood Relief Carving with Bishop Trevor Walters will teach you how to form icons with chisels from a wood block.
In addition to the practice of iconography, we will explore its history and theology, with instruction from Dr. Lauren Whitnah, Dean of Nashotah House; Dr. Jim Watkins, Affiliate Professor of Theological Aesthetics at Nashotah House; and Dr. Robyn Wrigley-Carr, Associate Professor in Spirituality and Spiritual Care at the University of Divinity in Australia.
Open to iconographers of all skill levels, this retreat will guide beginners every step of the way while also offering more advanced instruction to those with more experience.
New Materials for Icon Board Grounds
This blog for the American Association of Iconographers gives some new alternatives to using traditional icon boards for egg tempera painting of icons.

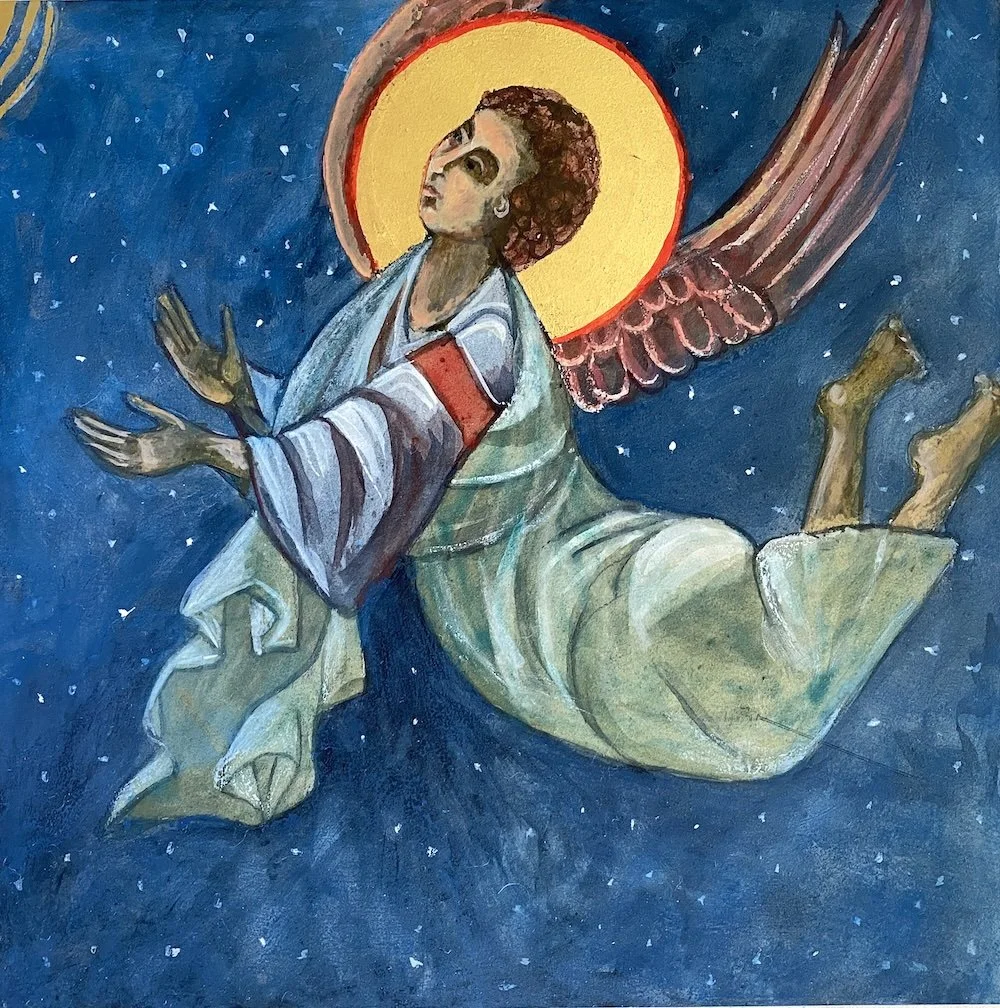
Beginning an Angel Icon
Hello Fellow Iconographers: Today I am writing this blog on the Feast Day of Saint Michael, and I include here the collect for St. Michael and All Angels from the book of Common Prayer:
“Everlasting God, you have constituted in a wonderful order the ministries of angels and mortals. Mercifully grant that, as your holy angels always serve and worship you in heaven, so by your appointment they may help and defend us here on earth; through Jesus Christ our Lord, who lives and reigns with you and the Holy Spirit, one God, for ever and ever. Amen.

Archangel Michael in Battle. written by Christine Hales
Lately I’ve been writing monthly articles about Icons and their place in history, and more theoretical topics related to understanding the field of writing icons. This month I am writing about the possibility of experimenting with new and maybe surprising materials that can be used to create satisfactory grounds for painting icons using egg tempera.
I will always consider the very best possibility for painting icons in egg tempera to be traditionally prepared icon boards, either by the iconographer herself or puchased from a reputable icon board maker. But, as we all know, those traditionally prepared icon boards are labor and time intensive, and therefore costly. And in my teaching experience, many people are interested in giving icon writing a try, but either aren’t able or don’t want to invest heavily in materials until they are sure this is an activity they want to pursue over time.
Icon writing materials are a significant investment for a complete beginner, I understand. Add to that the fact that practicing icon writing is absolutely necessary to mastery of the technique, you have the need for inexpensive, easy to find alternatives to icon boards.
I always love to experiment both with materials and techniques, so I am able to share a number of alternatives with you here that I hope will help you in your icon writing practice.
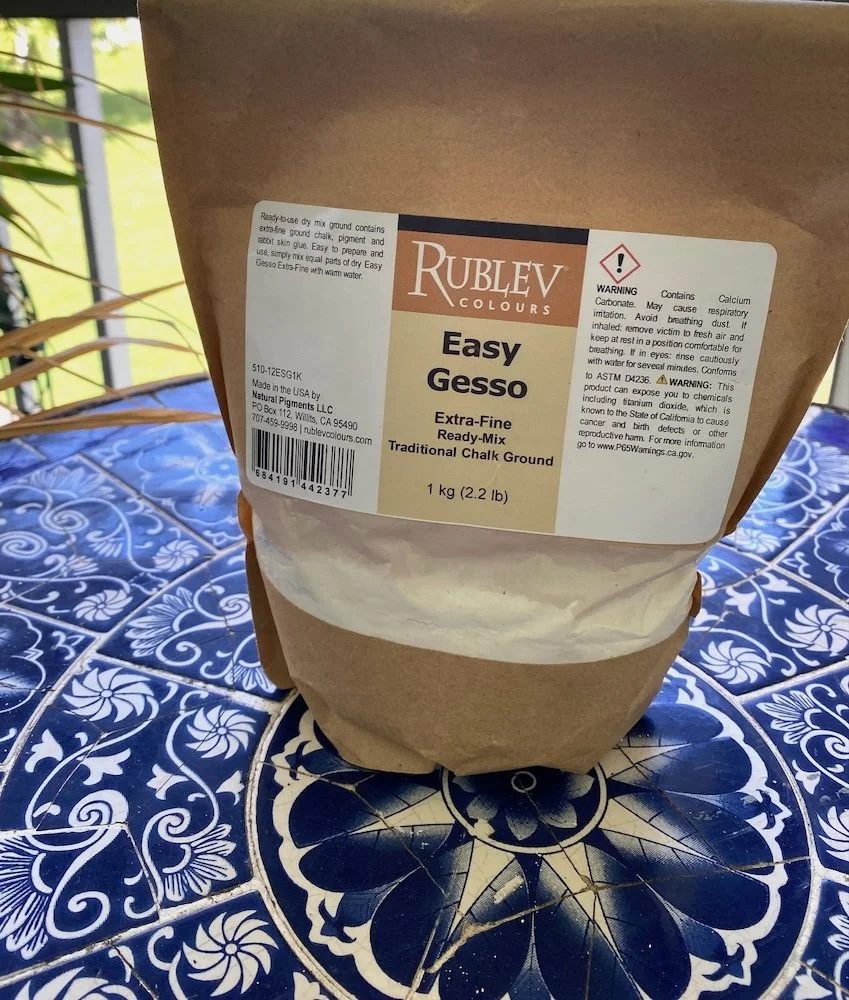
Easy Gesso
First, I find the “Easy Gesso” product made by Natural Pigments to be an excellent ground that can be used on watercolor paper, bristol board, ampersand and aquaboards, birch panels- almost anything that is a solid enough support. Obviously the watercolor paper is only going to work for practice sketches because egg tempera needs a stable (un-bendable) surface so that the tempera does not crack. Trekell Art Supplies has some very nice and inexpensive baltic birch panels available in a variety of sizes and shapes and I recommend these. especially for students.
You must follow the directions for the Easy Gesso, (don’t mix with cold water etc.) and use 3 coats, allowing each layer to dry before applying the next one. Then lightly sand the surface and I think you will be happy with the result. If you prepare several surfaces at a time, it’s a good investment in your icon writing practice, and very handy to have surfaces ready for painting.
Chalk
Acrylic Gesso and Marble Dust

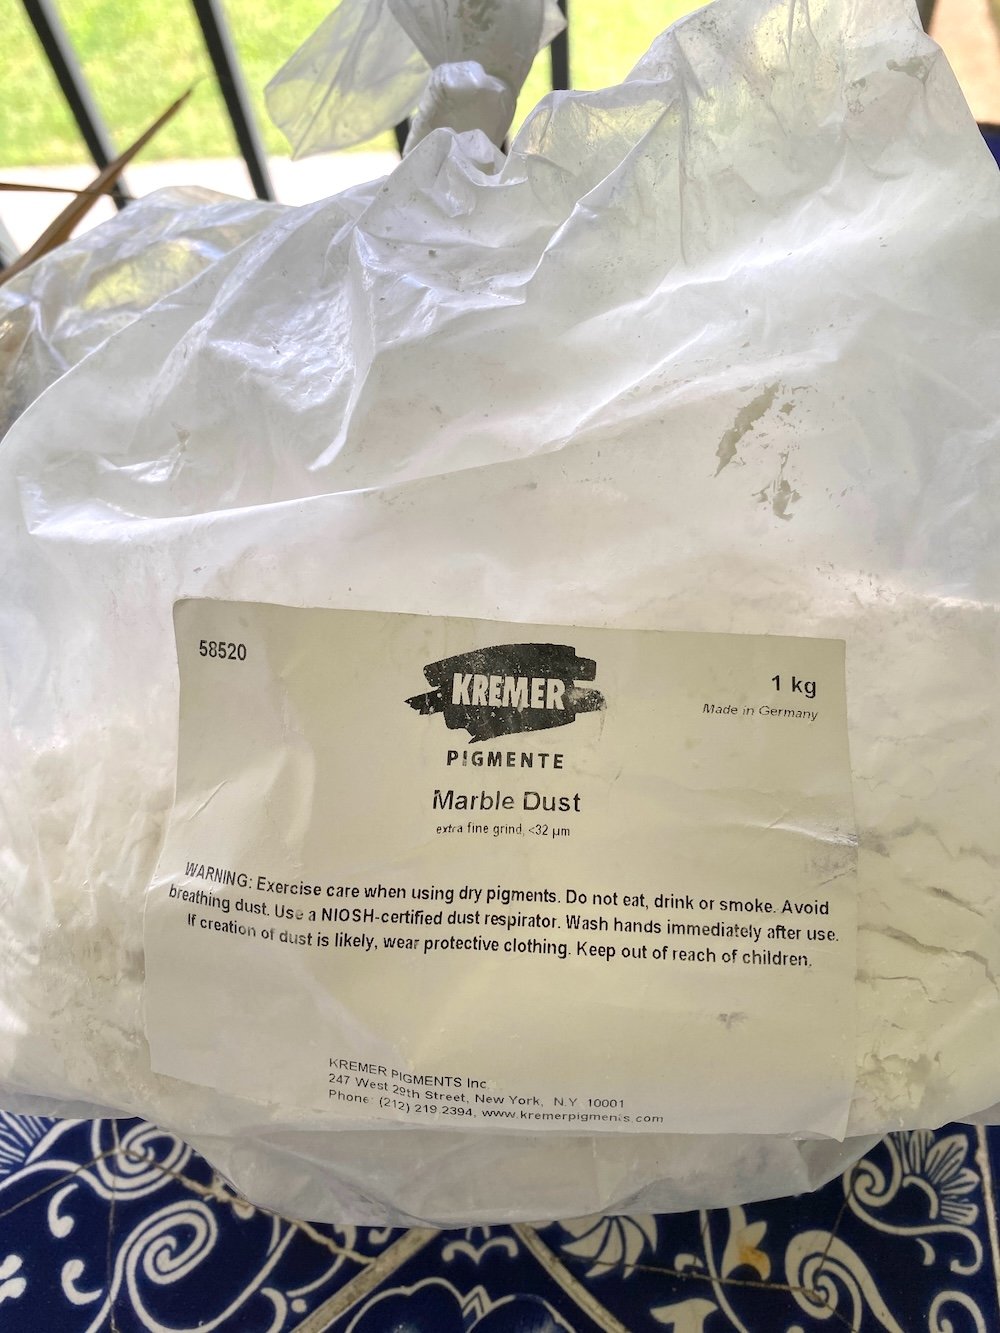

A combination that I have used many times is to use acrylic gesso and mix it with either Marble Dust or Chalk, then a bit of water to tinh apporpriately. What like about this mixture is te acrylic gesso base of this mixture is waterproof and mold proof. The marble dust or chalk provide tooth and absorbency. If you decide to try it, experiment first to see if you like it as well. I put about 1/3 marble dust to 2/3 acrylic gesso. I don’t always use this mixture, but at times I have found it useful. Also, one of my students has successfully used wood filler, applied with a large putty knife over a cradled board, and then lightly sanded to be effective and good to work on.
Golden Paints has many new products out now, including a vareity of gessoes for different purposes. I highly respect the Golden Paint Company because I know their research is of primary importance for them, and they keep accurate records of results while being highly knowlegable. Here is a link to an article from them about wet sanding acrylic gesso. Here is a link to their newsletter about recent research experiments with a variety of products- it’s always interesting and informative. And I’ll close this article with a link to the Golden gessoes, I have tried the absorbent one and it works well.
The American Association of Iconographers has an article on how to gesso boards from scratch as well, and here is the link.
If you have a favorite work around for gesso, and want to share it, you can leave the info in the comments section.
May God continue to bless the work of your hands,
Christine Hales
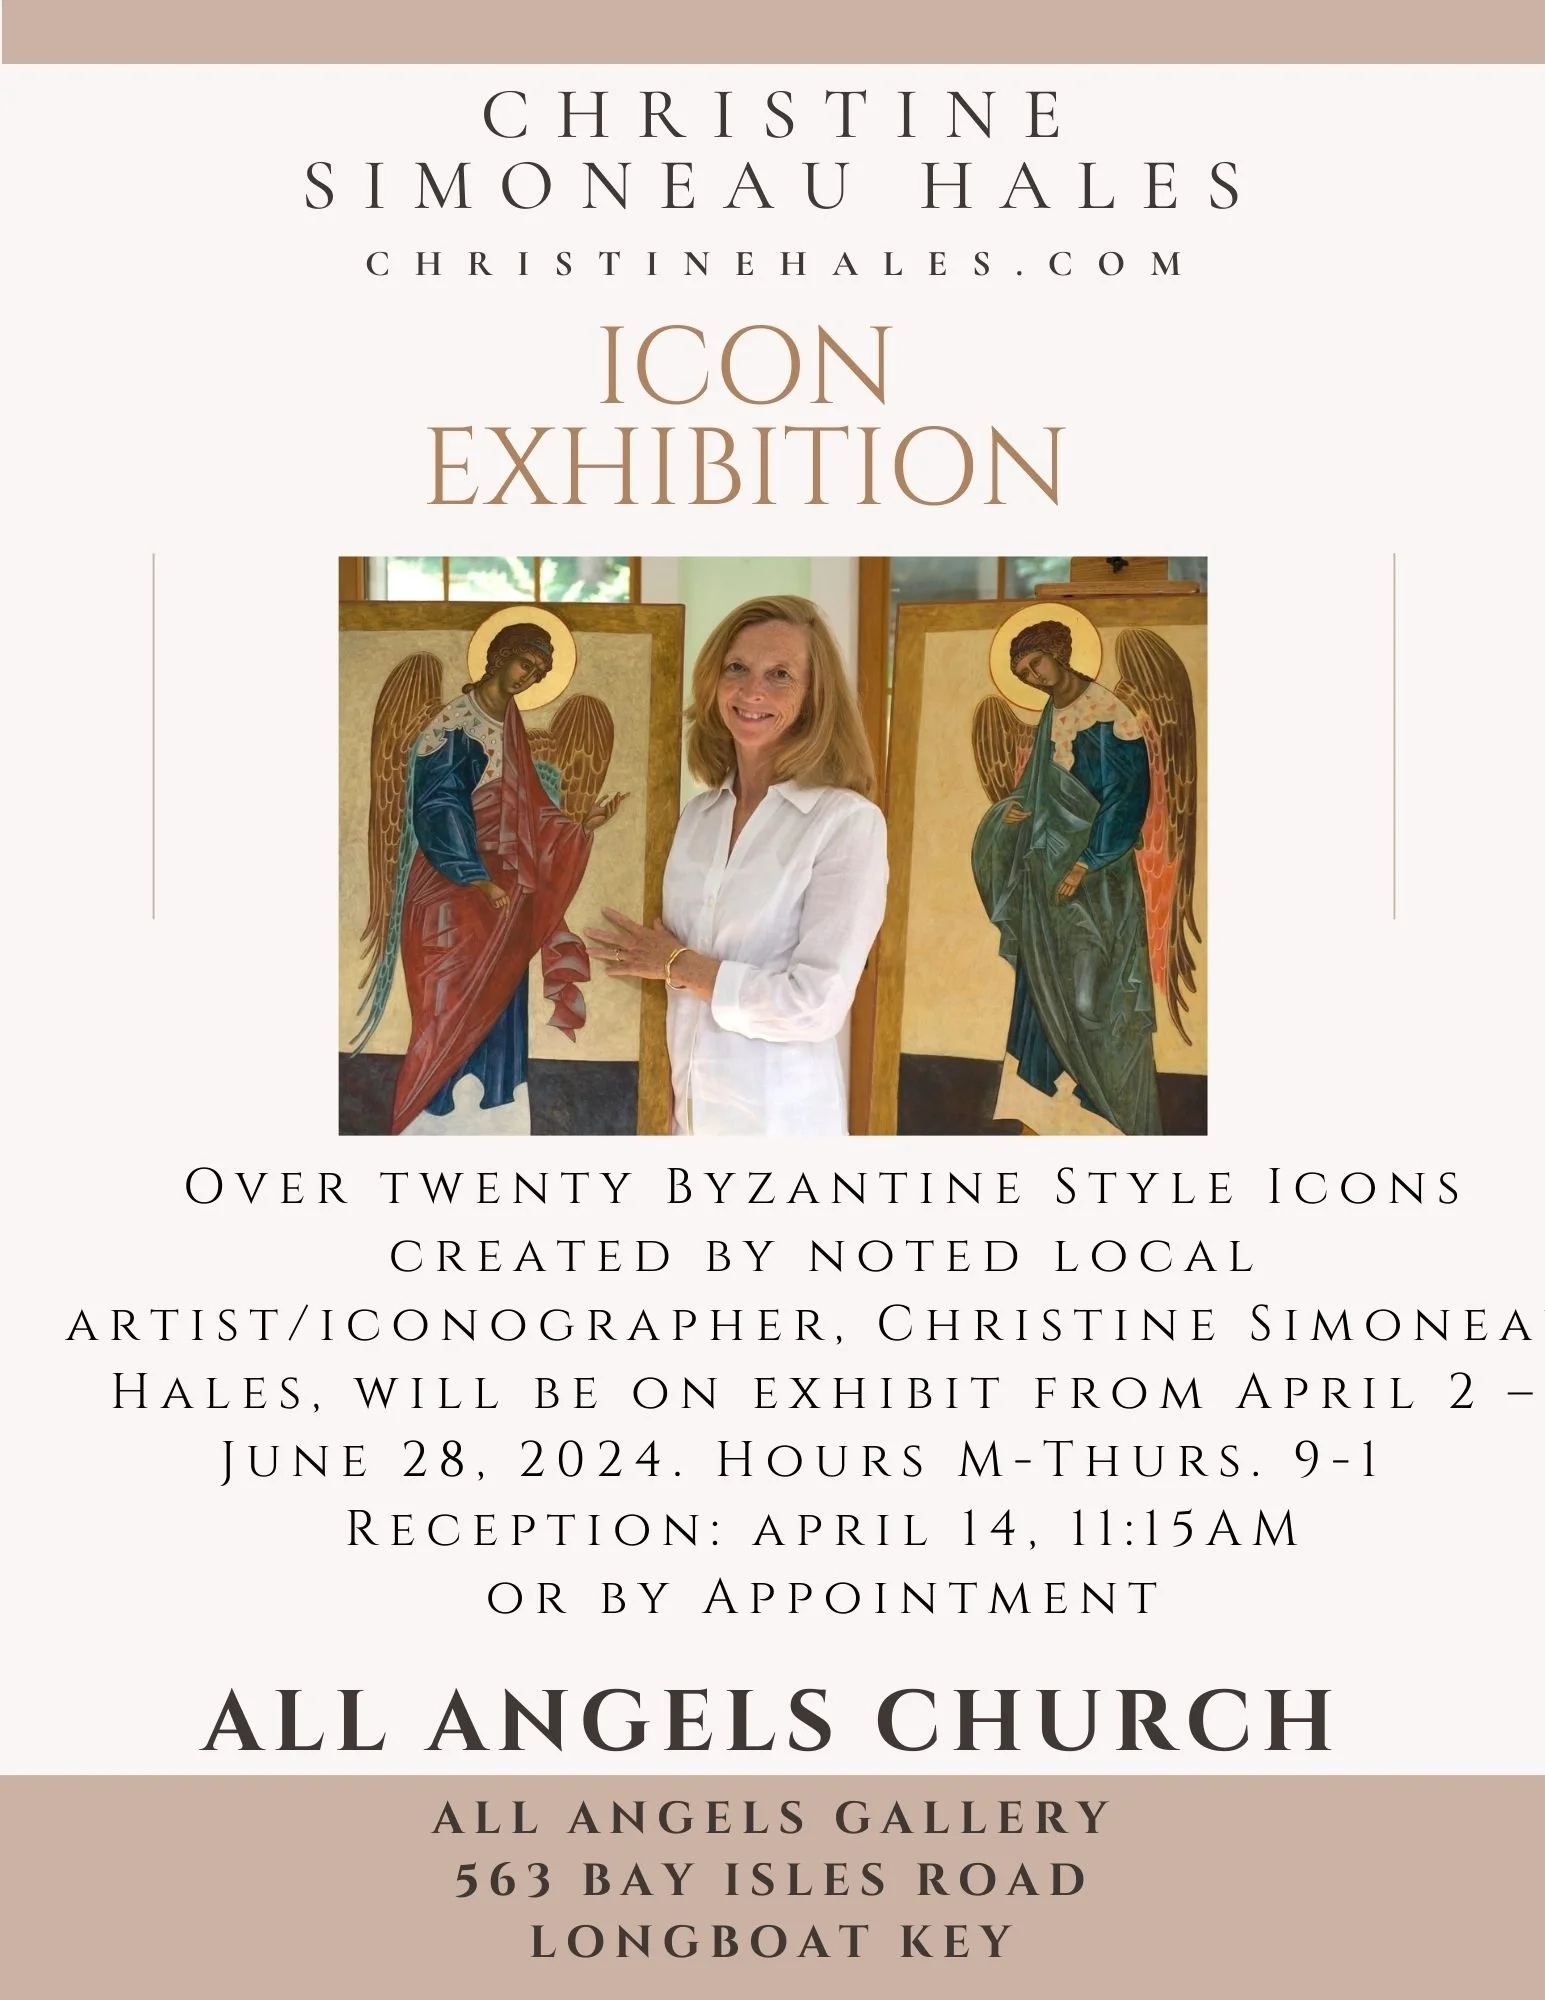
Icon Exhibition at all Angels Church, Long Boat Key
This spring, All Angels Church on Long Boat Key is hosting an exhibition of 23 my icons and I am looking forward to sharing them with all the people in the Sarasota area. Here’s a link to an article about it: https://www.yourobserver.com/news/2024/apr/03/icongrapher-painting-prayer/
Also attached here is a flyer with all the details- hope you can see it!
How To Gesso Icon Boards
Painting Icons using egg tempera paints requires that we use a solid, stable support that is also absorbent for the many layers we need to result in the jewel like appearance of icons.
Traditionally, poplar boards have been used that are coated in rabbit skin glue (as a sealer) and then between 8 – 14 layers of natural gesso, sanded in between layers. The result should be a polished, smooth surface that is also highly absorbent. Natural gesso is not the same as the acrylic gesso most people are familiar with. Natural gesso is made using rabbit skin glue and chalk or marble dust.
Today there are many more modern materials that iconographers are experimenting with in part because the process of preparing an icon board is lengthy and requires a lot of physical effort and time. Natural Pigments makes a product, “easy Gesso”, that seems much easier to use and works well, especially for beginning students. https://www.naturalpigments.com/mediums-grounds/gesso-primers/gessoes/easy-gesso.html
After the rabbit skin glue has dried, trim the edges of the boards.
Also, I tend to use Baltic Birch Wood panels because I feel they are less prone to warping than more traditional woods.
Below I will provide an explanation of how to prepare and gesso an icon board that I trust will be helpful. If you should choose to experiment with other materials and find success, do write to me and I will add that to this list.
Icon Board Materials

Baltic birch panels of various sizes, a sauce pan and another container for mixing the gesso. I use recycled plastic or glass containers about the size of a large yogurt container. Distilled water, measuring spoons, measuring cup, wood spoon to stir, oxgall liquid, glycerin, marble dust or chalk, rabbit skin glue, 2″ bristle paint brush from the hardware store, 3 grades of sand paper- 300, 600, 1200 grit. Muslin or linen large enough to overlap the icon boards’ dimensions by 1 inch all around.
Set up your workspace with a long table covered with a painter’s drop cloth. I like to use one that I can dispose of when the whole process is finished because it will get quite messy.
Steps to Gesso Icon Boards
Linen drying on the boards, having been soaked in rabbit skin glue.
Several layers of gesso are applied and then sanded.
Measure 2 Tablespoons of Rabbit Skin glue into 2 cups of distilled water, stir well. Let sit until glue is completely absorbed and expanded- 2-4 hours.
Place glue mixture in a container that rests in a saucepan , double boiler is good), containing 3 inches of boiling water and let the glue melt. Be careful it doesn’t get too hot- do not boil the glue mixture! 135 degrees Farenheit is too hot!!
Next, using the 2″ Bristle brush, coat both sides and edges of each board with the glue. Let each side dry about 2-4 hours. This will prevent the board from warping and will keep out atmospheric moisture in the future.
When the boards have dried, the next day, you can mix up some more glue This you will use to, first, coat the dry icon boards with it. Second, dip the pre cut linen into this glue mixture and spread evenly on the board. Smooth out wrinkles- I use plastic gloves.
Next day, use a mat knife to trim edges of over lapping linen.
Time to trim the edges of the linen- when they are completely dry.
Making the Gesso
Now it’s time to make the gesso itself! Make the glue- 2Tbs rabbit skin glue added to 2 cups of water – as before. Let soak, then warm until completely dissolved, as above.
When the glue is ready, using a sieve, gradually add approx 3 cups of whiting – chalk or marble dust. I also add 1 teaspoon of oxgall liquid and 1 tsp of glycerin. These are dispersion agents and they are optional. I use Kremer Chalk from Champagne K 58000, and/or marble dust K 58500. I often make a mixture of chalk and marble dust but you can use just the chalk as well.
When this is ready, start putting layers of gesso on the boards, letting them dry in between layers. It doesn’t take too long for each layer to dry- in the summer it might take 1/2 hour.
Sanding the Boards
After 3 or 4 layers, I usually give the boards a rough sand to take off any bumps or rough spots. This can be done with a wet sanding method described in the video below, or with regular sandpaper. The wet sand method is my choice, usually. Don’t forget to coat the edges of the board. After 6 layers I sand again. Then, a final sand after the last 2 layers. You can make anywhere from 4-8 layers. Use the finest sand paper for the final sand and you will get a beautiful smooth surface ready to paint on!
There are several videos on you tube showing different approaches to gessoing an icon board. You might want to watch this, or one like it, all the way through before starting. Icon boards video by Paul Stetsenko. Or, if this is too much bother, you can always order an icon board!! I have included some new sources on my website on the student resources page.
Happy Icon Painting!
May God bless you and guide you in all of your endeavors in this Holy ministry.
Christine Hales
My ONLINE ICON WRITING CLASSES: I offer many pre-recorded icon writing classes at Online.iconwritingclasses.com.

Holy Work, Divine Rules of an Iconographer
Work is a holy gift. In his Rule, Benedict states that all tools of the monastery are sacred and worthy of reverence. What are the sacred tools of the work we do?
Writing/painting icons is both an art and a spiritual discipline. In both cases, there is no substitute for experience. The best teacher can only show the way, but the student must practice many, many hours, ask questions, and get feedback from the teacher and their community as the long process of icon training unfolds through the years. One must be always studying, learning, praying.
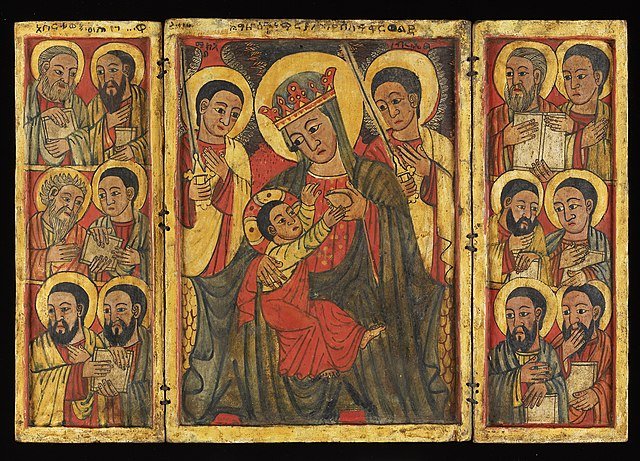
Madonna Feeding the Christ Child Icon, 14th Century
Even the best teachers don’t have time to teach the ethos, spiritual discipline, and spiritual worldview necessary within the context of an icon writing class. I constantly find myself trying to squeeze this into class sessions but there are always so many painting demonstrations and other topics needed to cover that there just isn’t enough time. For that reason, I am including some key concepts here in this month’s blog that I hope will be helpful and give the reader time to meditate, contemplate, and journal about them. Each individual iconographer will have their own areas of concentration and skills that need attention- there is no right or wrong answer, but instead the slow development of a spiritual mindset and worldview that will enhance one’s Godly service in this area.
Many of you are already familiar with the Divine Rules of an Iconographer, but I will include them here as they embody an ethos of combining love and work:
DIVINE RULES OF AN ICONOGRAPHER
• Before starting work, make the sign of the Cross; pray in silence and pardon your enemies.
• Work with care on every detail of your icon, as if you were working in front of the Lord Himself.
• During work, pray in order to strengthen yourself physically and spiritually; avoid all useless words, and keep silence.
• Pray in particular to the Saint whose face you are painting. Keep your mind from distractions, and the Saint will be close to you.
•When you choose a color, stretch out your hands interiorly to the Lord and ask His Counsel.
• Do not be jealous of your neighbor’s work; his /her success is your success too.
•When your icon is finished, thank God that His Mercy granted you the grace to paint the Holy Images.
• Have your icon blessed by putting it on the Holy Table of your parish church. Be the first to pray before it, before giving it to others.
• Never forget:
the joy of spreading icons throughout the world. the joy of the work of icon writing.
the joy of giving the Saint the possibility to shine through his/her icon.
the joy of being in union with the Saint whose face you are revealing.

God’s Mother, Our Lady of the Sign icon, 16th century
And so, our thoughts and attitudes while working are so important to the sacredness of the icon we are creating. “Each thought, each action in the sunlight of awareness becomes sacred. In this light, no boundary exists between the sacred and the profane.” Thich Nhat Hanh
Work is a holy gift. In his Rule, Benedict states that all tools of the monastery are sacred and worthy of reverence. What are the sacred tools of the work we do?

Icon of Saint Benedict by Christine Hales
“Just in the way the desert mothers and fathers reminded us that our cells can teach us everything, so can the work that we return to day after day be a place of inner transformation….As I listen for what the work needs at this stage and how it wants to come to birth in this world, I discover my own places which need releasing or ways to express my ideas with more clarity…Then consider whether it is possible for you to remember why you do the work. Can you do it out of love, recognizing that transformation occurs even there? Are there ways to bring love to things you find challenging and reframe them so that they rise like music and lift up your creative heart?” Christine Valtners Paintner , Abbey of the Arts.
I’ll close for this month with one more quote from Christine Valtners Paintner, Abbess of the virtual Abbey of the Arts, Ireland; “What difference would it make if you truly believed that your work makes a difference in the world, that the world needs what you have to offer…God invited each one of us in every moment to respond to our unique call.”
May God continue to bless the work of your hands, and hearts,
Christine Hales

Origins of Christian Art

Face of Jesus Icon by Christine Hales
ORIGINS OF CHRISTIAN ART
In my quest to create and fully understand sacred and holy images, I feel the need to go back in time and understand how the first Christian images were created- and why. I recently wrote an article for the American Association of Iconographers on this subject and I will pull a few quotes from it here. To read the entire article click here.
PANEL PAINTINGS
Ancient Panel paintings derived from the Egyptian panel paintings of gods and goddesses, therefore, the very early Christian panel paintings have similar compositions and figures replacing images of Egyptian gods with Christian imagery . As Christians found NEW WAYS OF VISUALIZING THE DIVINE, specifically in mosaics, Icons, and mural paintings for monasteries, icon panel paintings began to flourish.
The theological significance that Christians gave to their icons was in many ways more exalted than the ancient Egyptians had given to their sacred images. As the Christian movement spread, naturally, each culture depicted Jesus as looking like them. To the Chinese, he looked Chinese, to the Indians, he looked Indian, to the Africans He is black, and so forth. The icons of early Christianity were expressions of beliefs and Biblical stories.
In the fourth century there was a move away from statuary. Icon painting, illumination, and mosaics became the primary methods of representing the Divine. Icons proliferated at this time, with many different styles of depicting Christ.
ICONOCLASM
By the seventh century, theological debate arose over the belief that the icon was incarnational- its holiness deriving from the fact that because God had assumed physical matter, the icons could be a valid representation of God’s presence also. The iconoclastic controversy arose at this time with heated debate and at times whole sale destruction of icons if they were perceived to violate the second commandment. It requires the second council of Nicea in the ninth century to resolve this issue. Icons were intimately connected with the origins and growth of Christianity itself.
Next month will be Part II, moving forward from the Nicean Council and Saint John of Damascus’ brilliant defense of icons to present day developments in religious imagery that builds up the church. I feel that a thorough understanding of the history of Christian art will be an invaluable aid to those of us creating icons and religious imagery today.
MY BOOK ON CREATING ICONS THAT COVERS MUCH OF THE HISTORY PLUS MORE!
I have written and published a book called “Eyes of Fire”, How Icons Saved My Life As An Artist” available on Amazon that also brings together knowledge and understanding of art and the Art Spirit through the ages, with a bias towards Byzantine iconography.
I HAVE ALSO RECENTLY given a talk to the Church of the Redeemer in Sarasota, Florida, on the subject of “Origins of Christian Art and the Images of Jesus”. Here is the you tube link for that talk: https://youtu.be/i_kKo9-Zbn0
Please comment if you have enjoyed this or the related materials or have questions.
Blessings, Christine Simoneau Hales