New Materials for Icon Board Grounds
This blog for the American Association of Iconographers gives some new alternatives to using traditional icon boards for egg tempera painting of icons.

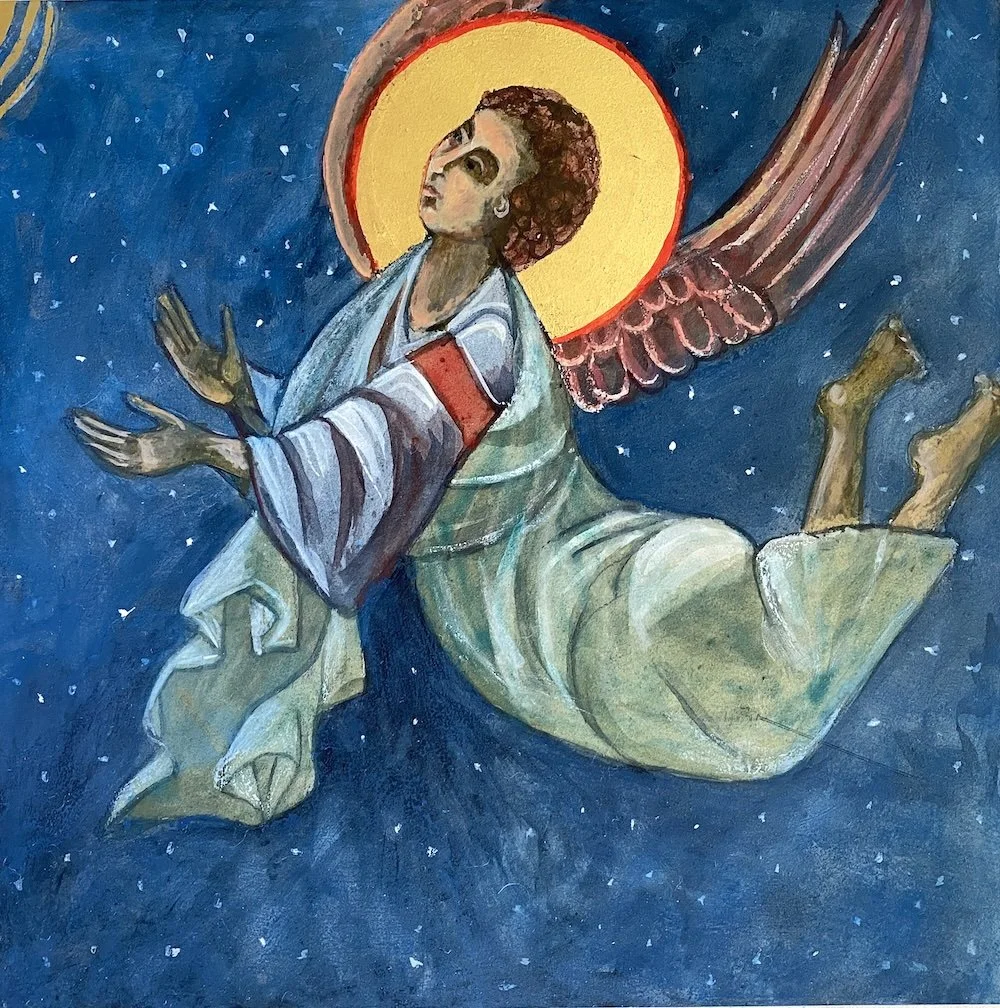
Beginning an Angel Icon
Hello Fellow Iconographers: Today I am writing this blog on the Feast Day of Saint Michael, and I include here the collect for St. Michael and All Angels from the book of Common Prayer:
“Everlasting God, you have constituted in a wonderful order the ministries of angels and mortals. Mercifully grant that, as your holy angels always serve and worship you in heaven, so by your appointment they may help and defend us here on earth; through Jesus Christ our Lord, who lives and reigns with you and the Holy Spirit, one God, for ever and ever. Amen.

Archangel Michael in Battle. written by Christine Hales
Lately I’ve been writing monthly articles about Icons and their place in history, and more theoretical topics related to understanding the field of writing icons. This month I am writing about the possibility of experimenting with new and maybe surprising materials that can be used to create satisfactory grounds for painting icons using egg tempera.
I will always consider the very best possibility for painting icons in egg tempera to be traditionally prepared icon boards, either by the iconographer herself or puchased from a reputable icon board maker. But, as we all know, those traditionally prepared icon boards are labor and time intensive, and therefore costly. And in my teaching experience, many people are interested in giving icon writing a try, but either aren’t able or don’t want to invest heavily in materials until they are sure this is an activity they want to pursue over time.
Icon writing materials are a significant investment for a complete beginner, I understand. Add to that the fact that practicing icon writing is absolutely necessary to mastery of the technique, you have the need for inexpensive, easy to find alternatives to icon boards.
I always love to experiment both with materials and techniques, so I am able to share a number of alternatives with you here that I hope will help you in your icon writing practice.
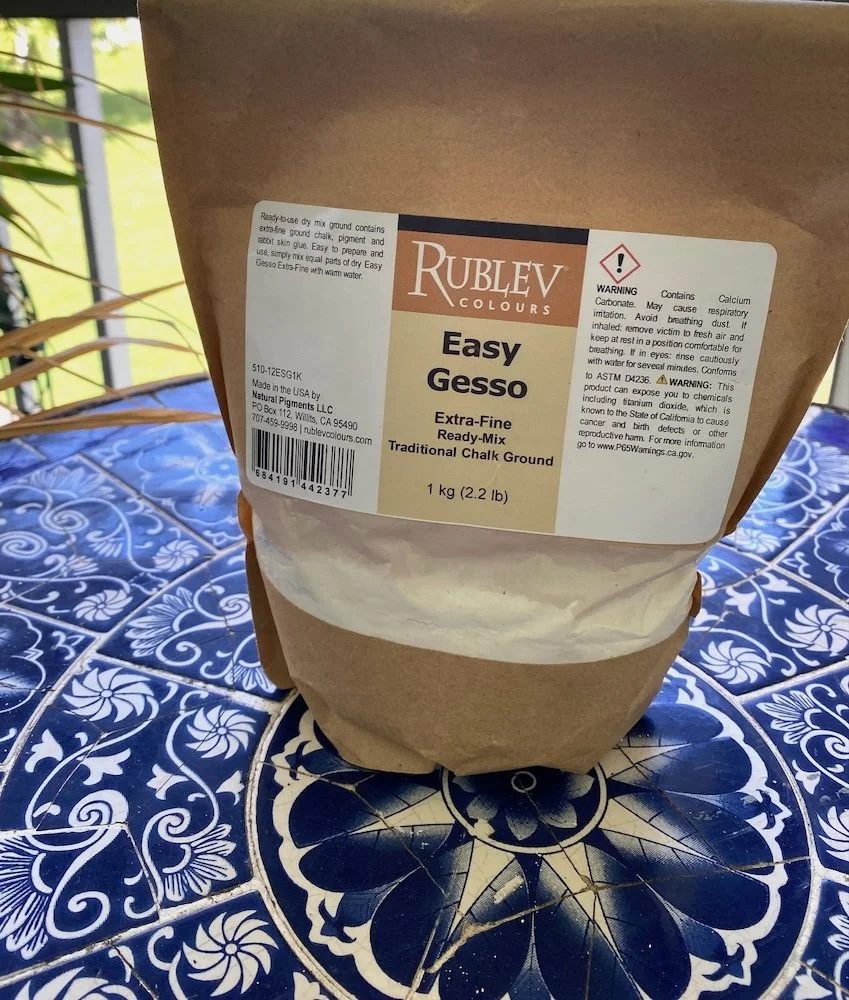
Easy Gesso
First, I find the “Easy Gesso” product made by Natural Pigments to be an excellent ground that can be used on watercolor paper, bristol board, ampersand and aquaboards, birch panels- almost anything that is a solid enough support. Obviously the watercolor paper is only going to work for practice sketches because egg tempera needs a stable (un-bendable) surface so that the tempera does not crack. Trekell Art Supplies has some very nice and inexpensive baltic birch panels available in a variety of sizes and shapes and I recommend these. especially for students.
You must follow the directions for the Easy Gesso, (don’t mix with cold water etc.) and use 3 coats, allowing each layer to dry before applying the next one. Then lightly sand the surface and I think you will be happy with the result. If you prepare several surfaces at a time, it’s a good investment in your icon writing practice, and very handy to have surfaces ready for painting.
Chalk
Acrylic Gesso and Marble Dust

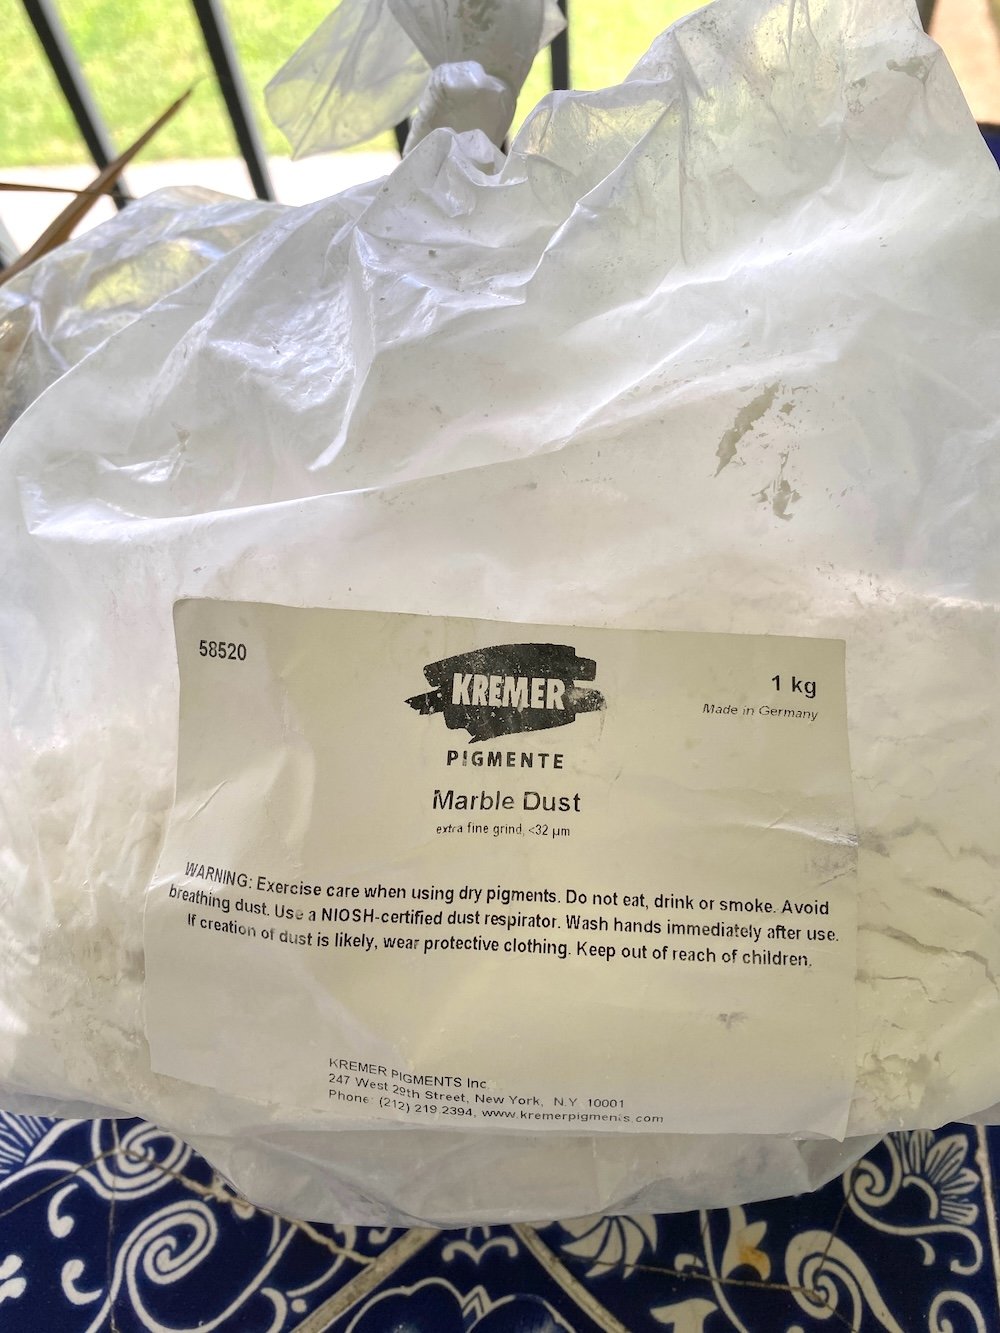

A combination that I have used many times is to use acrylic gesso and mix it with either Marble Dust or Chalk, then a bit of water to tinh apporpriately. What like about this mixture is te acrylic gesso base of this mixture is waterproof and mold proof. The marble dust or chalk provide tooth and absorbency. If you decide to try it, experiment first to see if you like it as well. I put about 1/3 marble dust to 2/3 acrylic gesso. I don’t always use this mixture, but at times I have found it useful. Also, one of my students has successfully used wood filler, applied with a large putty knife over a cradled board, and then lightly sanded to be effective and good to work on.
Golden Paints has many new products out now, including a vareity of gessoes for different purposes. I highly respect the Golden Paint Company because I know their research is of primary importance for them, and they keep accurate records of results while being highly knowlegable. Here is a link to an article from them about wet sanding acrylic gesso. Here is a link to their newsletter about recent research experiments with a variety of products- it’s always interesting and informative. And I’ll close this article with a link to the Golden gessoes, I have tried the absorbent one and it works well.
The American Association of Iconographers has an article on how to gesso boards from scratch as well, and here is the link.
If you have a favorite work around for gesso, and want to share it, you can leave the info in the comments section.
May God continue to bless the work of your hands,
Christine Hales
How To Gesso Icon Boards
Painting Icons using egg tempera paints requires that we use a solid, stable support that is also absorbent for the many layers we need to result in the jewel like appearance of icons.
Traditionally, poplar boards have been used that are coated in rabbit skin glue (as a sealer) and then between 8 – 14 layers of natural gesso, sanded in between layers. The result should be a polished, smooth surface that is also highly absorbent. Natural gesso is not the same as the acrylic gesso most people are familiar with. Natural gesso is made using rabbit skin glue and chalk or marble dust.
Today there are many more modern materials that iconographers are experimenting with in part because the process of preparing an icon board is lengthy and requires a lot of physical effort and time. Natural Pigments makes a product, “easy Gesso”, that seems much easier to use and works well, especially for beginning students. https://www.naturalpigments.com/mediums-grounds/gesso-primers/gessoes/easy-gesso.html
After the rabbit skin glue has dried, trim the edges of the boards.
Also, I tend to use Baltic Birch Wood panels because I feel they are less prone to warping than more traditional woods.
Below I will provide an explanation of how to prepare and gesso an icon board that I trust will be helpful. If you should choose to experiment with other materials and find success, do write to me and I will add that to this list.
Icon Board Materials

Baltic birch panels of various sizes, a sauce pan and another container for mixing the gesso. I use recycled plastic or glass containers about the size of a large yogurt container. Distilled water, measuring spoons, measuring cup, wood spoon to stir, oxgall liquid, glycerin, marble dust or chalk, rabbit skin glue, 2″ bristle paint brush from the hardware store, 3 grades of sand paper- 300, 600, 1200 grit. Muslin or linen large enough to overlap the icon boards’ dimensions by 1 inch all around.
Set up your workspace with a long table covered with a painter’s drop cloth. I like to use one that I can dispose of when the whole process is finished because it will get quite messy.
Steps to Gesso Icon Boards
Linen drying on the boards, having been soaked in rabbit skin glue.
Several layers of gesso are applied and then sanded.
Measure 2 Tablespoons of Rabbit Skin glue into 2 cups of distilled water, stir well. Let sit until glue is completely absorbed and expanded- 2-4 hours.
Place glue mixture in a container that rests in a saucepan , double boiler is good), containing 3 inches of boiling water and let the glue melt. Be careful it doesn’t get too hot- do not boil the glue mixture! 135 degrees Farenheit is too hot!!
Next, using the 2″ Bristle brush, coat both sides and edges of each board with the glue. Let each side dry about 2-4 hours. This will prevent the board from warping and will keep out atmospheric moisture in the future.
When the boards have dried, the next day, you can mix up some more glue This you will use to, first, coat the dry icon boards with it. Second, dip the pre cut linen into this glue mixture and spread evenly on the board. Smooth out wrinkles- I use plastic gloves.
Next day, use a mat knife to trim edges of over lapping linen.
Time to trim the edges of the linen- when they are completely dry.
Making the Gesso
Now it’s time to make the gesso itself! Make the glue- 2Tbs rabbit skin glue added to 2 cups of water – as before. Let soak, then warm until completely dissolved, as above.
When the glue is ready, using a sieve, gradually add approx 3 cups of whiting – chalk or marble dust. I also add 1 teaspoon of oxgall liquid and 1 tsp of glycerin. These are dispersion agents and they are optional. I use Kremer Chalk from Champagne K 58000, and/or marble dust K 58500. I often make a mixture of chalk and marble dust but you can use just the chalk as well.
When this is ready, start putting layers of gesso on the boards, letting them dry in between layers. It doesn’t take too long for each layer to dry- in the summer it might take 1/2 hour.
Sanding the Boards
After 3 or 4 layers, I usually give the boards a rough sand to take off any bumps or rough spots. This can be done with a wet sanding method described in the video below, or with regular sandpaper. The wet sand method is my choice, usually. Don’t forget to coat the edges of the board. After 6 layers I sand again. Then, a final sand after the last 2 layers. You can make anywhere from 4-8 layers. Use the finest sand paper for the final sand and you will get a beautiful smooth surface ready to paint on!
There are several videos on you tube showing different approaches to gessoing an icon board. You might want to watch this, or one like it, all the way through before starting. Icon boards video by Paul Stetsenko. Or, if this is too much bother, you can always order an icon board!! I have included some new sources on my website on the student resources page.
Happy Icon Painting!
May God bless you and guide you in all of your endeavors in this Holy ministry.
Christine Hales
My ONLINE ICON WRITING CLASSES: I offer many pre-recorded icon writing classes at Online.iconwritingclasses.com.